Menu
Project Path: Assets\Samples\Menu
This sample is the entry point (the first part) required to access a session, whether locally or online in a shared session. The Menu sample provides the necessary foundation for user authentication and preference selection before entering a multi-user environment or a specific session (like the Example Session sample).
Importing the Sample
To use this sample, you must first import it into your Unity project:
- Navigate to Window -> Package Manager in the top menu.
- Select the HoloMIT package.
- Open the Samples tab.
- Locate the Menu sample and click Import.
Scene Elements
Inside the scene named Menu.unity, we have several main elements and controllers. These elements are Prefabs that can be added directly from the Unity ToolBar (top, under HoloMIT -> Menu), where you will find the prefabs ready to be placed. Optionally, you can use HoloMIT -> QuickSetup -> Menu Set Up to have them all ready automatically.
You can also find these prefabs manually in the Prefabs folder of the main HoloMIT package.
Since this is a Sample scene, all elements are already added to the scene, so you don't have to worry about adding them manually.
Example Components
AutomaticLoginManager: This component controls user access and login, easing the transition into the session.
Key Components
- Essential Controllers: Manage the essential state of the application.
- Menu Controllers: Handle the user interface logic of the menu.
- Pipeline Initializer: Prepares and configures the initial pipeline required by HoloMIT.
- SelfRepresentationPreview: Allows you to preview the user's representation.
Requirements and Prior Configuration
What do we need for the Menu to work?
- Build Profiles: It is strictly necessary that this scene is added to the Unity Build Profiles, in the Scene List section.
- HoloMIT Set Up Wizard: Check that everything is configured correctly with green checkmarks in the HoloMIT Set Up Wizard.

Step by Step Guide
To ensure correct Menu operation and transition to a session:
- Configure the MenuController: Go to the GameObject named
MenuControllerin theMenuscene. - Assign Scene To Load: Make sure this GameObject has the
Automatic Login Managercomponent. In its first parameter, Scene To Load, you must add the name of the Scene you want the menu to redirect you to after login. For this example, we add the "Example Session" scene (see Example Session Sample).Note: You can add the name of any other custom scene you have configured.
- Build Profiles: You must add the target scene (e.g.,
ExampleSession) inBuild Profiles->Scene List. - Play Mode: Press Play in Unity.
- Authentication:
- Register as a new user if you don't have a registered account.
- If you already have an account, simply log in.
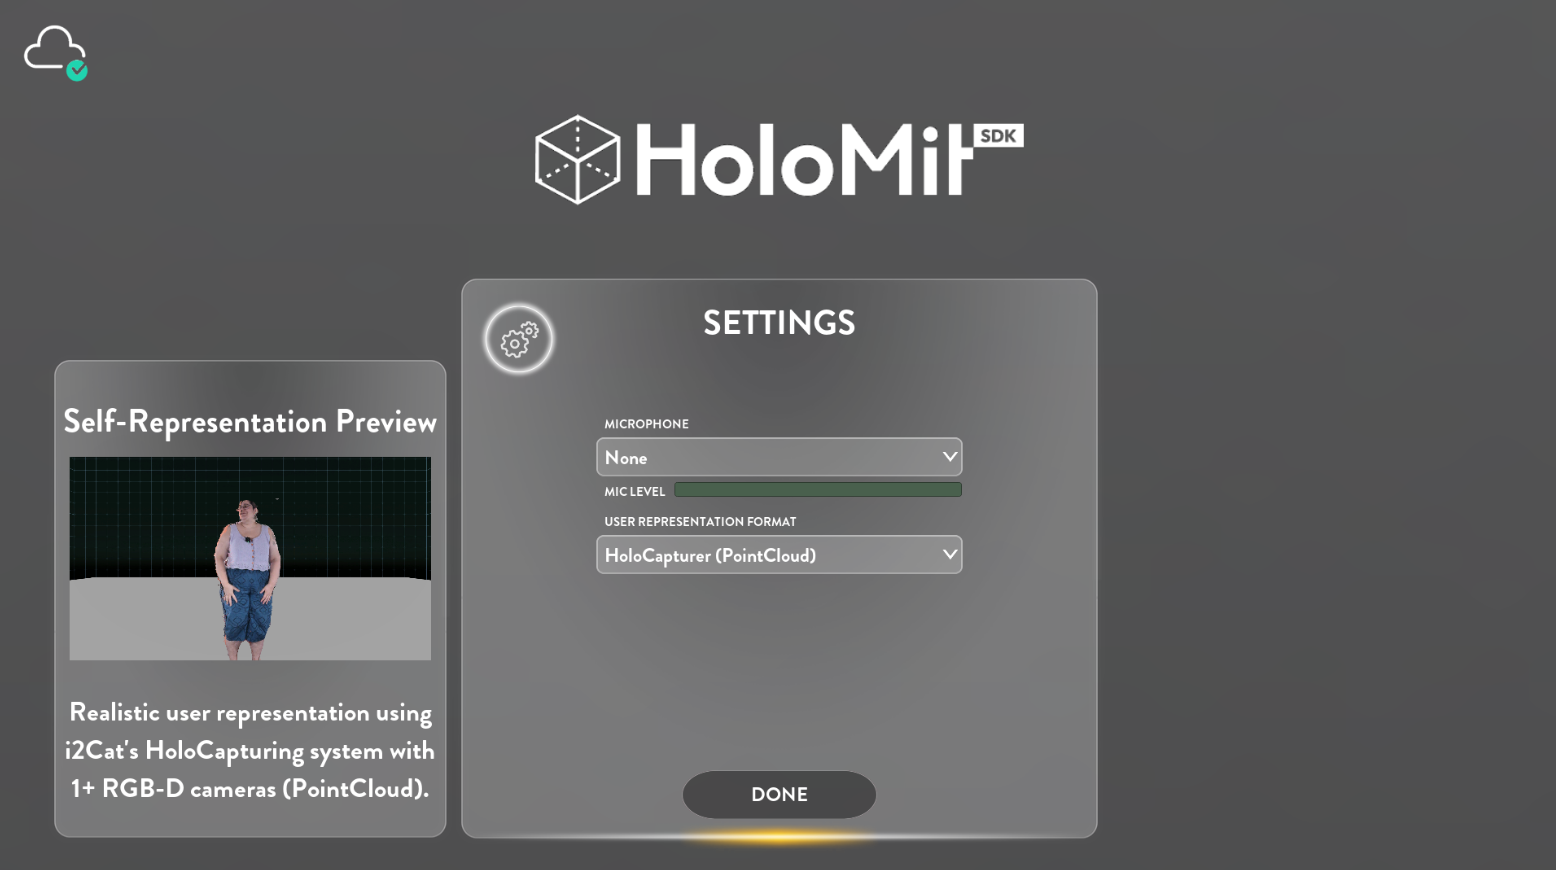
- Verify that the cloud icon in the top left corner is green (indicating a successful connection).
- Preferences: The user can select their microphone and their preferred User Representation.
- Enter the Session: By pressing "Done", the sample scene assigned in the
MenuController(ExampleSession) will load.
IMPORTANT: We insist that the scene to be loaded must be added to the Unity Build Profiles.